ARKit初体验之3D效果
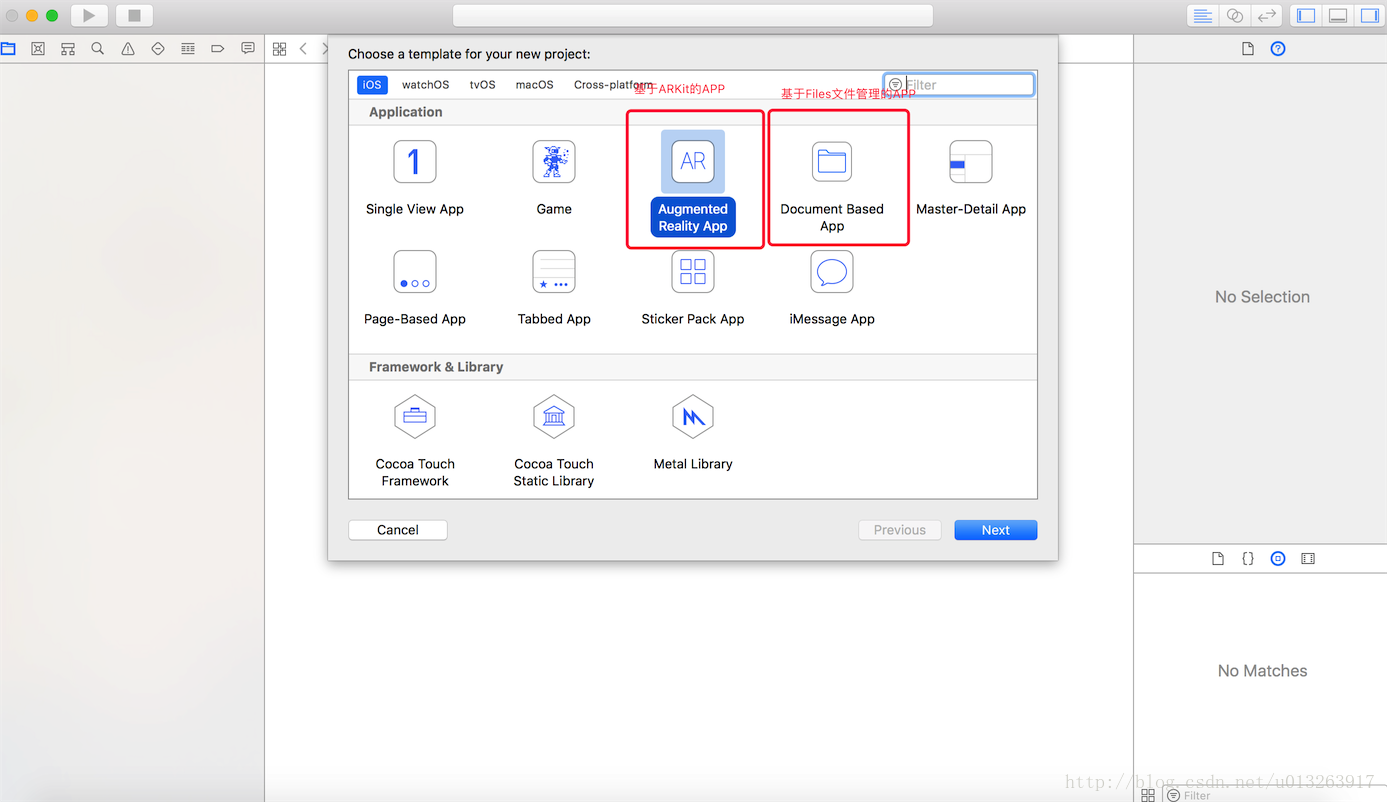
1.打开Xcode9bete版本,新建一个工程,选择Augmented Reality APP(Xcode9新增),点击next

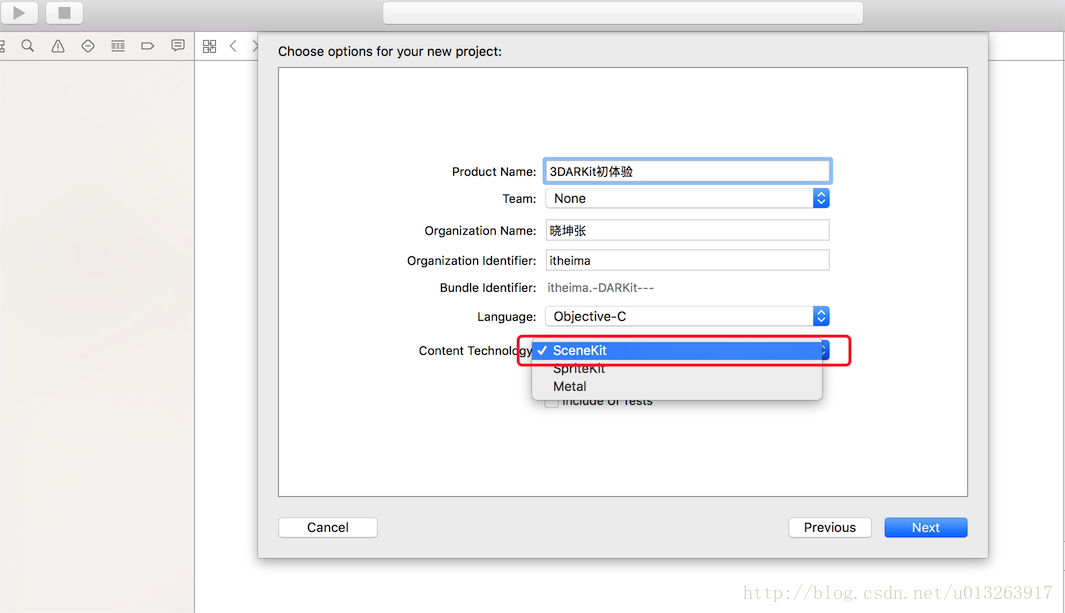
2.在包含技术选项中选择SceneKit

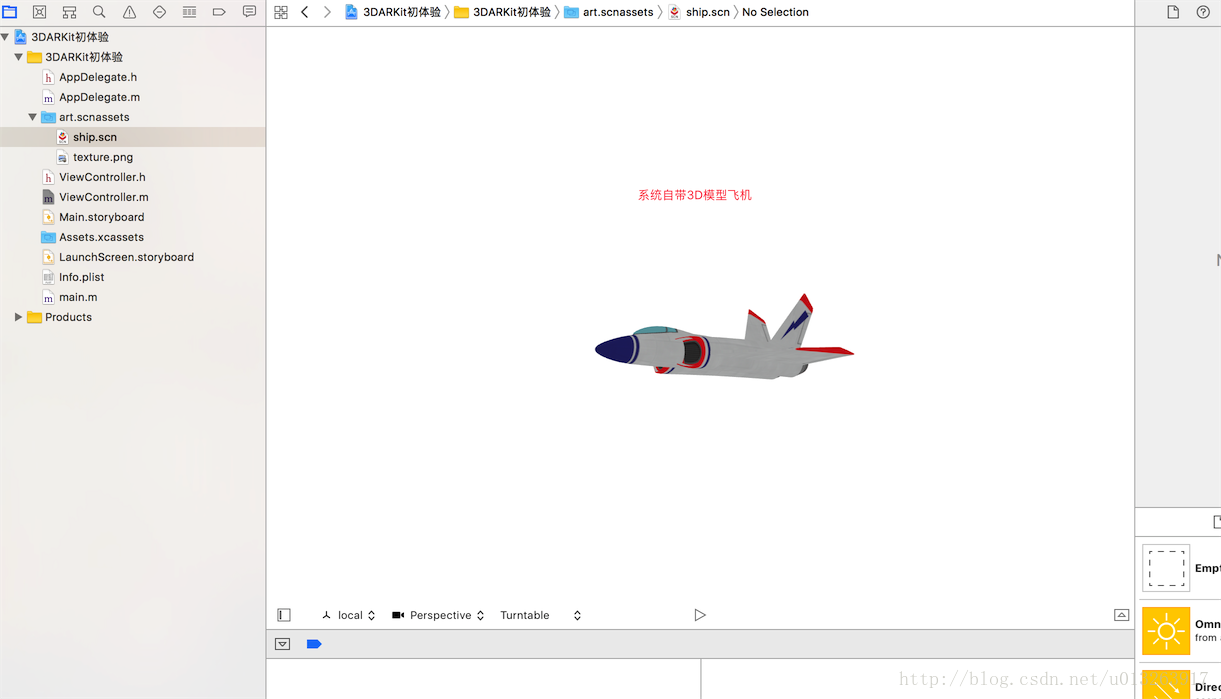
3.此时,Xcode会自动为我们生成一段极其简洁的AR代码

- (void)viewDidLoad {
    [super viewDidLoad];

    // Set the view's delegate
    //设置代理
    self.sceneView.delegate = self;

    // Show statistics such as fps and timing information
    //ARKit统计信息
    self.sceneView.showsStatistics = YES;

    // Create a new scene
    //使用模型创建节点(scn格式文件是一个基于3D建模的文件,使用3DMax软件可以创建,这里系统有一个默认的3D飞机)
    SCNScene *scene = [SCNScene sceneNamed:@"art.scnassets/ship.scn"];

    // Set the scene to the view
    //设置ARKit的场景为SceneKit的当前场景(SCNScene是Scenekit中的场景,类似于UIView)
    self.sceneView.scene = scene;
}

- (void)viewWillAppear:(BOOL)animated {
    [super viewWillAppear:animated];

    // Create a session configuration
    //创建一个追踪设备配置(ARWorldTrackingSessionConfiguration主要负责传感器追踪手机的移动和旋转)
    ARWorldTrackingSessionConfiguration *configuration = [ARWorldTrackingSessionConfiguration new];

    // Run the view's session
    // 开始启动ARSession会话(启动AR)
    [self.sceneView.session runWithConfiguration:configuration];
}

- (void)viewWillDisappear:(BOOL)animated {
    [super viewWillDisappear:animated];

    // Pause the view's session
    // 暂停ARSession会话
    [self.sceneView.session pause];
}

- (void)didReceiveMemoryWarning {
    [super didReceiveMemoryWarning];
    // Release any cached data, images, etc that aren't in use.
}